DIY RV Repairs – RV Fixes For Anyone
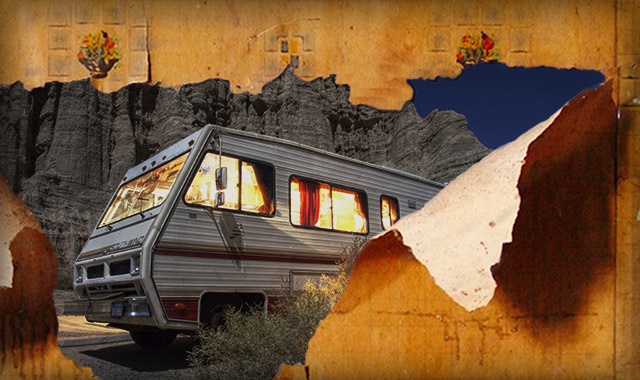
RVing is great. It’s a fun way to get to see the world. And there’s no better opportunity to spend time with family and friends than when you’re sitting around a campfire together. But what happens when your RV is in need of a doctor? Here are some basics in case you find yourself in a bind.
Cracked Sewer Hose End
For those RVers that especially like to save, you can fix your own cracked sewer hose. Put on some gloves and get, um, dirty. Rinse out the hose as best you can and cut the end that’s cracked with a box cutter. There’s a metal ring that coils through the tube that will need to be cut with wire cutters down to where you cut the end off. Unscrew the metal fitting from the end you cut. Reinstall the fitting on the newly exposed end. You can see a video here for reinstallation.
Installing Temporary Plexiglass Windows
This is a common repair that sometimes happens spontaneously. Some think that it’s a result of high temperatures.Others think that maybe stress fractures on your RV contribute to this. Regardless, if you find yourself with a random cracked window, there’s an easy temporary fix that can help you cope quickly and allow you to get help. You can buy small plexiglass sheets at local hardware stores for around $40. Measure the area that needs to be replaced. Draw out with a marker the shape that you need and cut it out with a jigsaw. If you don’t have a jigsaw you can also use a sharp blade to score the plexi. It will take several passes, but once the score is deep enough you can snap the plexi along your scored line. Once the shape is cut out, install it by placing the panel in the empty frame. Use caulking to seal the plexiglass in the frame. Let it dry and you’re good to go.
Refinishing Yellowed Hatches and Trim
These can be expensive to replace, but they are easy to spot and simple to fix on your own. The outside of your RV is exposed to the sun, wind, snow and anything in between. It’s no wonder these are so quick to brown and show age. If you’re wanting to take a crack at an easy DIY, this is the one. Using some medium-fine grit sandpaper, sand off the pieces you want to refinish and wipe the residue off. Tape around the areas you’re refinishing with painter’s tape that you can get at your local hardware or craft store. Use a can of spray paint that matches the exterior of your RV to spray the hatches and trim you’re working on. Layer as many thin coats as necessary to cover the entire area. When everything is dry, peel off the tape and add matching caulk around the panel if necessary. You’re back in business!
Identifying Water Damage in Older RVs
Water damage is common in older RVs and can cause big problems if they’re left alone. Popular places to look for this kind of damage is around windows and doors, and inside cabinets and compartments. Tell-tale signs of water damage are bubbling in the lamination on the inside or outside of your RV and staining around the affected areas. If you’ve caught it early and there is minimal damage, it is possible to pull off a DIY job to resolve the issue. Watch the whole repair video to see what you can do to make this job a success.
When you’re out and you find yourself in need of a quick fix, these are a few tips that can help put your mind at ease. There’s no worse time to have problems than when you’re trying to enjoy your time with family and friends. Keeping up-to-date and alert about potential problems can help you avoid any issues, but for those who don’t mind getting a little dirty, these tricks are well worth the extra time and effort to get the most from your Good Life.

