


The Best Way to Winterize Your RV
The leaves are changing color, the days are getting shorter and people are putting pumpkins out on their porch. The great memories you made during this year of camping are nothing more than memories. It’s too cold to go camping now. And it’s time to winterize your RV.
There are certain cold-weather precautions RV owners must take before the winter hits. Just like your house, water systems are especially vulnerable during the winter, as the water inside has a tendency to expand and burst pipes.
And burst pipes can be annoying, costly and really put a hold on your travel plans. Imagine getting your RV together for a weekend trip in April only to find the freshwater pipes have burst over the winter, and you’re stuck with shelling out hundreds to get it up and running again. That’s not a good place to be.
Luckily winterizing your RV isn’t a terribly difficult thing to do, any it can easily be done in an afternoon with the right tools.
Here are the tools you need:
-
Antifreeze
-
Blowout Plug
-
Crescent wrench
-
Flashlight
-
Air Compressor
-
Water Pump Adapter Kit
Step One: Drain Your Tanks
The easiest of your tanks to drain is the fresh water tank. Most fresh water tanks have an external white valve on the side of the camper or just underneath the fresh water tank, making them very easy to drain. Some RVs have small low-point drains that might be hard to find.
After that, your grey and black tanks should be cleaned and drained. Make sure to empty the waste in an appropriate dump station, and close their valves afterwards.

Step Two: Drain the Water Heater
There are two types of water heaters: those with anode rods and those without. Anode rods are metal sticks that extend the life of your water heater by attracting corrosive elements in the water.
If your water heater has an anode rod, remove it and set it aside until Spring. Now is also a good time to get a new one if yours is thinning out. After that, drain the tank by removing or opening the drain plug at the bottom of the tank. Using a air compressor with nozzle adaptor, blow out any remaining water in the tank.
You’ll need to make sure that no water can get in to the tank, so the tank must be bypassed. There is a series of valves on the back of the water heater that routes water away, and these must be used in order to keep antifreeze out of the hot water tank. Each manufacturer uses a different valve system, so consult your owner’s manual.
Step Three: Check for Filters
In many appliances – and possibly in your water system itself – there are a number of filters that can keep your water fresh. Before going any further, these need to be removed and stored away for next season. If any of them look a little gross, it might be time to replace them.
Step Four: Pump it Up
Even though there’s no water left in your fresh water tank, there’s still water left on the inside of your RV – especially inside the pipes. In order to get that out, you’ll need an air compressor and a blowout plug.
First, screw the blowout plug on the city water hookup on the outside of your RV. You’ll notice the tip of this plug has a valve on it, similar to a bicycle valve. Connect this valve to your air compressor. Make sure that all faucets in the camper are closed, then turn the compressor on.
As the pressure builds in your water system, open each faucet and catch all the water that comes out in a bucket. Continue until no water comes out.
Step Five: Antifreeze
Before you get started, know that you should be using non-toxic RV antifreeze rather than the standard automotive stuff.
With all of your faucets closed, use the inline RV antifreeze draw tube to suck antifreeze from its container. Then, one by one, open the faucets until you only see antifreeze flowing. Next, dump a few cups of antifreeze into each sink or shower trap to ensure it replaces the standing water inside.
With just an afternoon’s worth of work, you can protect your RV for the winter and keep it safe from the elements.
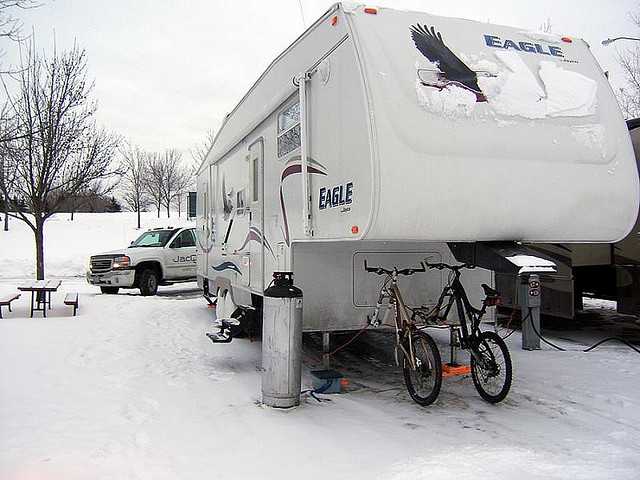
Photo courtesy j2davis
